ISO Explained: Balancing Sensitivity and Noise in Digital Cameras
ISO Explained: Sensitivity vs Noise in Digital Photography and Video
ISO is one of the three core exposure controls, alongside shutter speed and aperture. Understanding how ISO works, how it relates to sensitivity, and why it increases noise can help you make more consistent technical decisions for both stills and video. This guide explains ISO in clear, practical terms to help you choose appropriate settings for your camera work, whether you own your gear or are renting equipment for a specific project.
What ISO Really Means on Digital Cameras
ISO on digital cameras is an exposure control that changes how bright the image appears for a given scene, aperture, and shutter speed. While film ISO once described the physical sensitivity of the film emulsion, modern digital ISO primarily manages how the camera amplifies the signal coming from the image sensor.
In most digital systems:
- Raising ISO makes the image appear brighter.
- Lowering ISO makes the image appear darker.
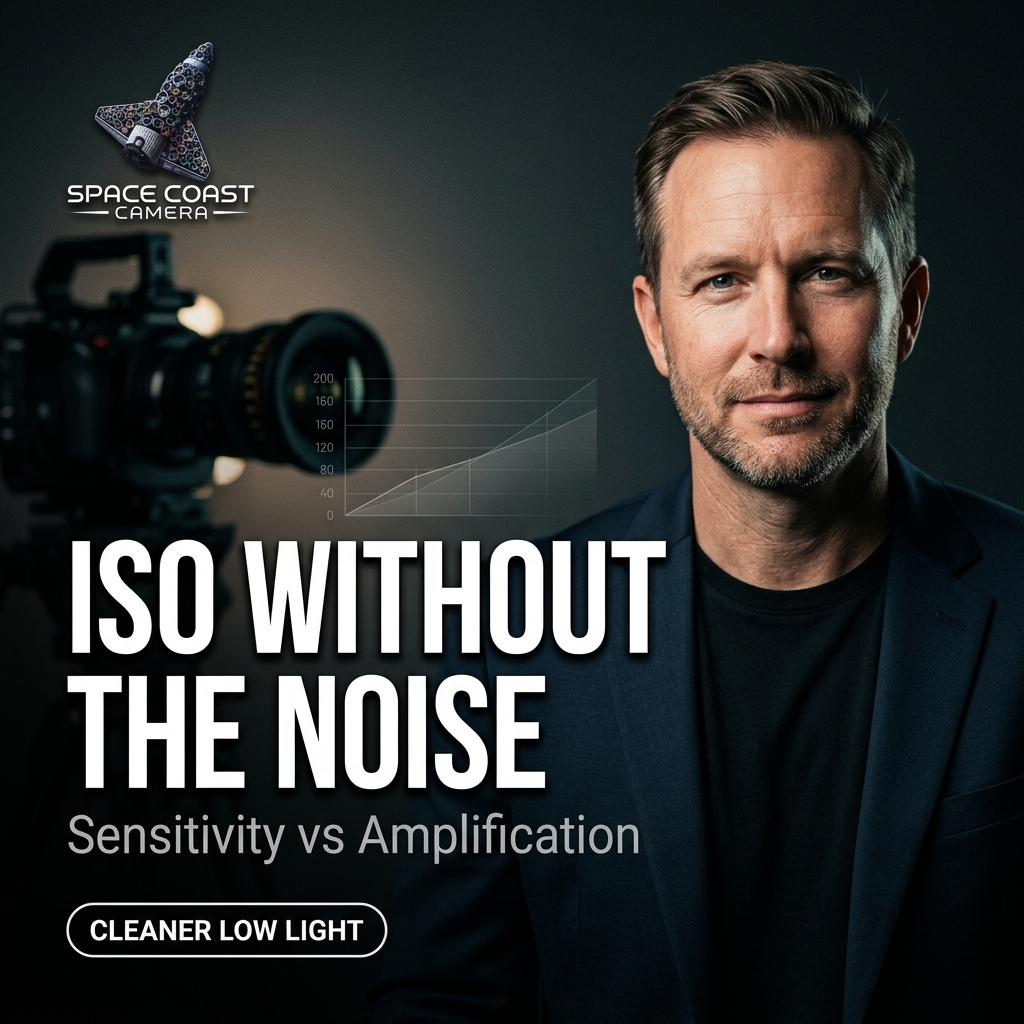
- Each full ISO step (for example ISO 100 to ISO 200) roughly doubles or halves the brightness of the recorded image.
However, ISO does not change the amount of light in the scene, and it does not physically make your sensor collect more photons. Instead, it influences how the electrical signal from the sensor is amplified and interpreted.
Sensitivity vs Amplification
The term sensitivity is often used informally when talking about ISO, but it can be helpful to separate two ideas:
- Physical sensitivity: How effectively the sensor can convert light into an electrical signal. This is largely fixed by the sensor design and technology.
- Signal amplification: How strongly the camera electronics boost the signal coming from the sensor before the image is recorded.
On most modern cameras, changing ISO mainly changes the amplification, not the physical sensitivity. A higher ISO setting boosts both the desired signal and the unwanted noise in the image, which is why very high ISO values can result in grainy or speckled images.
How ISO Interacts With the Exposure Triangle
ISO works together with aperture and shutter speed in the exposure triangle. Adjusting one parameter often requires a corresponding change in another if you want to maintain a similar overall brightness.
ISO and Shutter Speed
For moving subjects or handheld shooting, you may need a faster shutter speed to reduce motion blur or camera shake. Raising ISO allows you to maintain that faster shutter speed in low light by amplifying the signal to keep the image bright enough.
For example, if a scene is properly exposed at 1/60s, f/4, ISO 400 and you want to freeze motion better at 1/125s (one stop faster), you might increase ISO to 800 to compensate, assuming you keep the aperture constant.
ISO and Aperture
Aperture affects depth of field and the amount of light that reaches the sensor. If you want to stop down to a smaller aperture (for example, from f/2.8 to f/5.6) to get more depth of field, you reduce the light reaching the sensor by two stops. To keep exposure similar, you can either slow the shutter speed or raise ISO by two stops, or use a combination of both.
Why Higher ISO Increases Noise
No digital sensor is completely noise-free. Several different noise sources are present in every exposure. When you increase ISO, you are boosting the signal, but many types of noise are boosted along with it. This makes noise more visible, especially in darker regions of the image and in uniform areas such as skies and walls.
Main Types of Noise
- Shot noise: Related to the random arrival of photons. Brighter areas generally have proportionally less visible shot noise than very dark areas.
- Read noise: Introduced by the sensor electronics and data readout process. Modern sensors are often designed to minimize this, but it still exists.
- Pattern or fixed noise: Repeating patterns of noise from sensor or electronics characteristics, which can sometimes be visible at high ISO.
High ISO settings amplify both the true scene signal and these noise sources. As a result, the signal-to-noise ratio (SNR) typically decreases as you go higher in ISO, meaning the noise becomes more obvious relative to the image detail.
Base ISO and Native ISO Ranges
Most cameras have a base ISO, often around ISO 100 or ISO 200 for stills. At base ISO, the sensor uses the least amplification, maximizing dynamic range and minimizing noise. This is typically the setting that yields the highest overall image quality in situations where there is enough light or when you can use a tripod and longer shutter speeds.
Many cameras also advertise a native or standard ISO range within which they perform best. Values below or above that range may be achieved using extended or simulated settings that involve additional processing, which can affect dynamic range or color latitude.
Dual Native ISO for Video Cameras
Some cinema and hybrid cameras feature dual native ISO designs. These sensors have two distinct analog gain stages optimized for different light levels. Each native ISO point aims to provide relatively clean performance, allowing flexibility for low-light video recording. When working with such cameras, it can be helpful to consult the manufacturer documentation to understand how the specific native values are intended to be used.
ISO and Dynamic Range
Dynamic range describes how well a camera can capture detail from the darkest shadows to the brightest highlights in a single exposure. ISO settings interact closely with dynamic range:
- At or near base ISO, most cameras offer their maximum dynamic range.
- As ISO increases, dynamic range often decreases, which may result in less recoverable information in highlights or shadows.
For scenes with very bright highlights and deep shadows, such as outdoor daylight with strong contrast, using a lower ISO can help preserve more detail. For low-light situations where capturing the moment is more important than absolute dynamic range, a higher ISO may be appropriate even if it reduces flexibility in post-processing.
Choosing ISO Settings in Common Scenarios
There is no single correct ISO setting for every situation. Instead, the goal is to choose an ISO that supports your creative and technical needs while keeping noise within acceptable limits for your intended use.
Bright Daylight Outdoors
In strong daylight, you can often use the camera's base ISO or close to it. This helps maintain maximum dynamic range and detail. With plenty of light available, you can typically choose smaller apertures or faster shutter speeds without needing to raise ISO.
Indoor Available Light
Indoors, light levels are usually lower, so you may need to raise ISO to avoid blur from slow shutter speeds. A typical approach is to set an ISO that allows a shutter speed fast enough for handheld shooting or to freeze moderate subject motion, then adjust aperture as needed for depth of field.
If image noise becomes too noticeable at a particular ISO, you can consider other options such as adding additional lighting, using a tripod, or adjusting your composition to take advantage of brighter areas.
Low-Light Events and Performances
Concerts, stage performances, and evening events often require relatively high ISO settings to capture moments without motion blur. In these situations, keeping shutter speeds fast enough and apertures reasonably wide is usually a priority, and accepting some noise may be a practical trade-off.
When recording video at such events, consistent exposure and stable shutter angles are often more important than keeping ISO very low. In these cases, it can be useful to test how your specific camera handles high ISO so you know the point at which noise becomes more visible than you prefer.
Managing Noise in Practice
While noise cannot be completely eliminated, several approaches can help manage it and keep images usable for your purposes.
Use the Lowest Practical ISO
Instead of always using the lowest possible ISO, aim for the lowest practical ISO that still supports your shutter speed and aperture choices for the scene. If a scene can be captured at ISO 400 with a reasonable shutter speed and aperture, there is usually no benefit to forcing ISO lower if it results in blur or underexposure.
Expose Carefully
Underexposure can make noise more apparent when images are brightened later in post-processing. In many situations, exposing accurately for key subjects helps maintain a stronger signal-to-noise ratio, especially at higher ISO values. Some photographers and videographers test how far they can adjust exposure in their post-production workflows before noise becomes distracting, and then work within those limits.
Add or Shape Light
Introducing additional light often allows you to lower ISO while maintaining your desired shutter speed and aperture. This might involve continuous lighting, flash, reflectors, or choosing locations with more favorable existing light. When planning a project, especially for video, estimating light levels in advance can help you decide whether to rent additional lighting equipment to support cleaner ISO settings.
Use Noise Reduction Thoughtfully
Most modern cameras and editing tools include noise reduction options. While these can be helpful, strong noise reduction may also soften fine details or create unnatural textures. Many workflows aim for a balance: choosing an ISO that keeps noise manageable and applying moderate noise reduction tailored to the final delivery format and viewing size.
ISO Considerations When Renting Camera Gear
When renting cameras or lenses for a specific assignment or production, ISO performance is one of several factors you might evaluate:
- Sensor size and design: Larger sensors and newer designs often provide cleaner results at higher ISO values compared with older or smaller sensors, though exact performance varies by model.
- Lens maximum aperture: A lens with a wider maximum aperture (for example, f/1.8 or f/2.8) lets in more light, allowing you to use a lower ISO in the same conditions compared with a lens that only opens to f/4 or f/5.6.
- Video-specific features: For video, features such as dual native ISO, built-in log profiles, and robust codecs can help maintain usable image quality across a wider range of ISO settings.
- Stabilization: In-body or lens-based stabilization can sometimes allow slightly slower shutter speeds for stills, which may let you maintain a lower ISO in some handheld situations, especially when subjects are relatively static.
If you are unsure which combination of body, lenses, and lighting makes sense for your project, it can be helpful to discuss your shooting conditions, expected light levels, and output needs so that gear recommendations can factor in ISO performance as part of the overall setup.
Bringing It All Together
ISO is best understood as a tool for balancing exposure and noise rather than as a measure of how good or bad an image will be on its own. Lower ISO values generally support greater dynamic range and cleaner files, while higher ISO values enable you to work in lower light or with faster shutter speeds at the cost of increased noise.
By understanding how ISO interacts with aperture, shutter speed, dynamic range, and lighting, you can make deliberate choices that support your creative goals and technical requirements for both photography and video work.
If you would like to discuss camera bodies, lenses, lighting, or accessories that suit your typical ISO needs and shooting environments along Florida's Space Coast, you can reach out for guidance and gear options through this page: Contact Space Coast Camera
